Getty Images
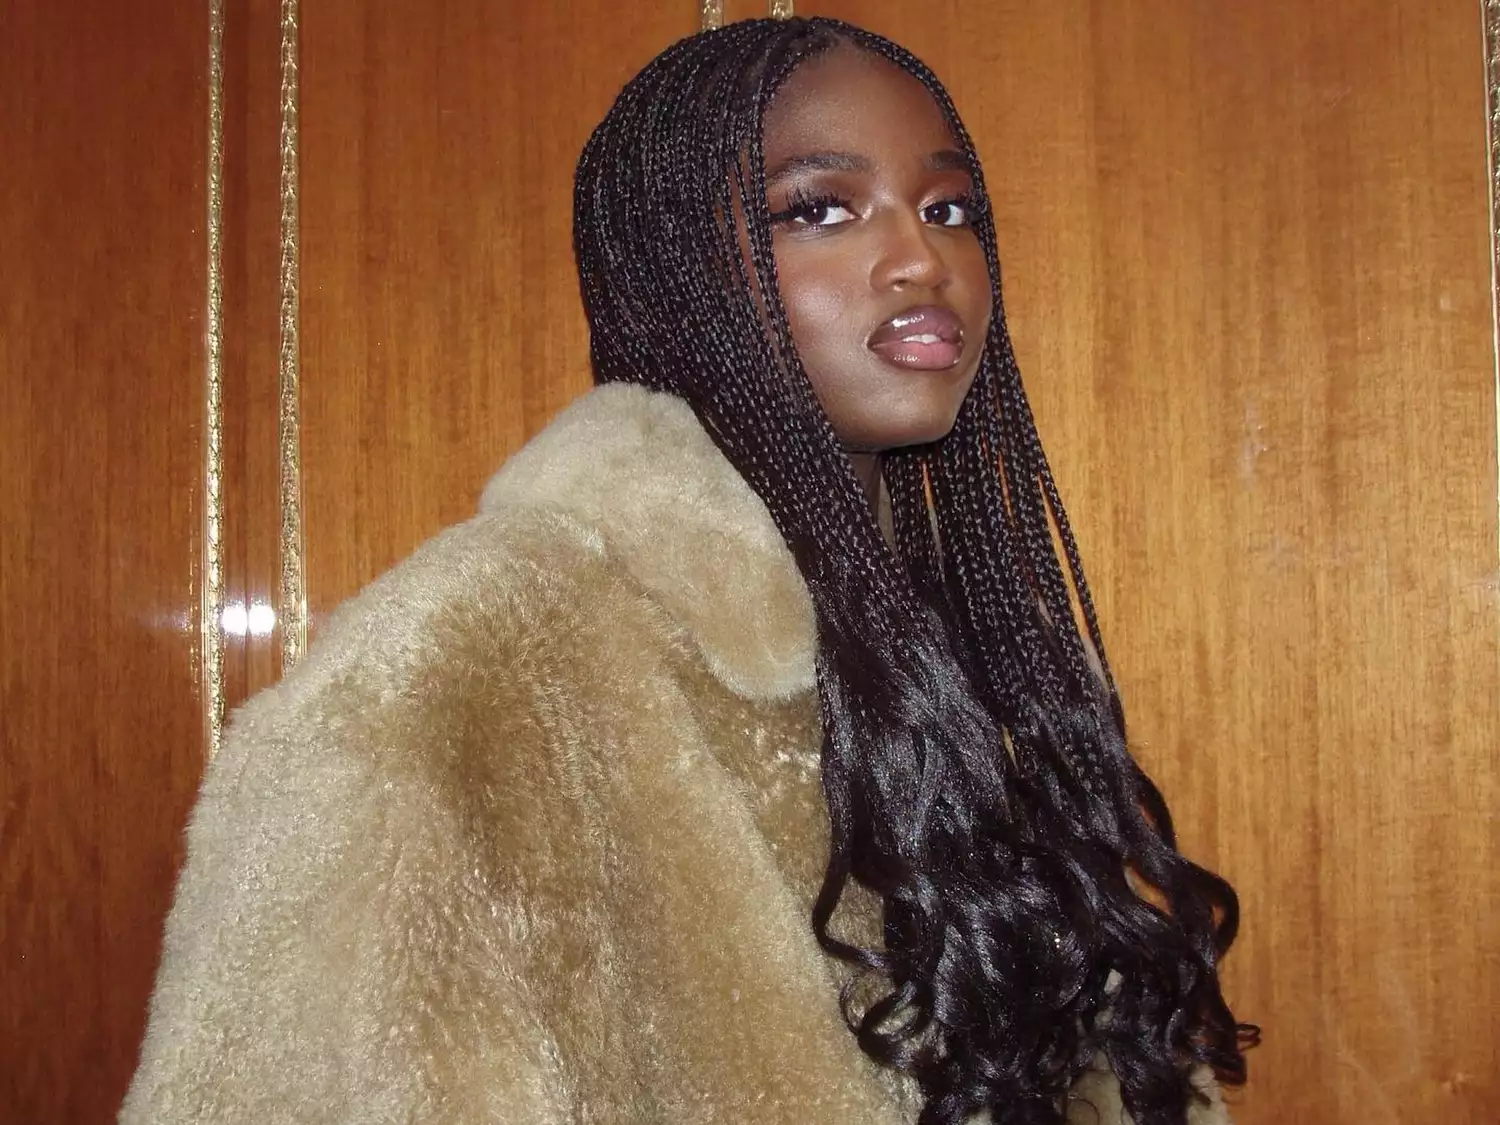
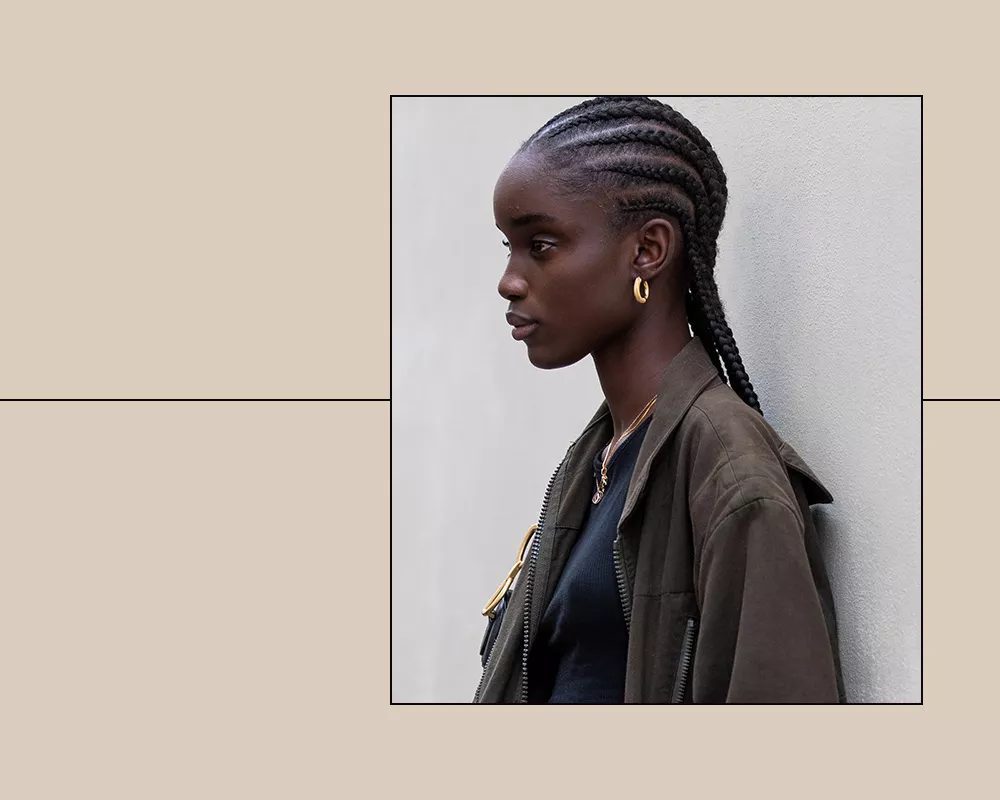
If youre looking for another protective style that isnt knotless braids or faux locs, cornrow braids may be the way to go. Cornrow braids are quite a low maintenance hairstyle but they present so many opportunities for creativity. "Cornrows are beautiful and shows our African heritage using some modern braiding techniques," says celebrity hairstylist Yene Damtew. "They represent freedom and have so much versatility—you can create different design patterns, and when they get old, you can take them out and enjoy a new hairstyle before washing your hair."
Learning how to cornrow can seem intimidating but like with most skills, practice makes perfect. If you know the basics of braiding, youre already halfway there when it comes to learning how to cornrow. The difference, though, is that while braids or plaits hang freely from their individual sections, cornrows are braided to the scalp.
Looking to become a braiding wiz in no time? Read ahead for tips and tricks from three braiding experts.
Meet the Expert
Yene Damtewis acelebrity hairstylist to Former First Lady Michelle Obama and owner of Aesthetics Salon. Michelle O’Connor is a professional hairstylist and the Artistic Director at Matrix. Tukia Allen is a professional hairstylist and an Educator Coach at the Aveda Arts & Sciences Institute.7:23
How to Braid Cornrows with Nigella Miller
Gather Your Tools

@brushwithbest / Instagram
No braiding session is complete without tools. A rattail comb is an absolute must for sectioning your hair. Tukia Allen recommends using alligator hair clips to help keep the hair youre not currently braiding out of your way. Using a blowdryer with a comb attachment is optional if you want to stretch or straighten your hair before you start braiding it. Oh and dont forget a detangling brush.
Prep the Hair

@stylesbylisa / Instagram
Allen says that hair prep on straighter hair can often require hairspray to add tact, which will help with grip as you grab each strand for the cornrows. On hair that has more texture, wave, curl, or coil, prep would require a moisture-based product. "I recommend using Avedas Nutriplenish Daily Moisturizing Treatment ($46) for adding hydration to your hair," Allen adds.
Part Hair for Individual Cornrow Section

Photo © 2009 D. Sandeen, licensed to About.com, Inc.
First, use the tail end of a rattail comb to create whatever size section you want. Skinnier sections will result in smaller cornrows, while larger sections will yield bigger cornrows. Here, a section is parted in front to create a cornrow directed to the side. "There is no one way to part for cornrows," notes OConnor. "They can be done from the side, backwards to forwards, straight back, braids crossing over other braids, tiny braids beside bigger braids—the patterns available for braiding are endless."
Divide Hair Section into Three Parts for Braiding

Photo © 2009 D. Sandeen, licensed to About.com, Inc.
At the hairline, divide the first section of hair into three equal parts as you would to begin any braid. Allen says that you must keep your hands close to your scalp.
Begin Braiding Small Section

Photo © 2009 D. Sandeen, licensed to About.com, Inc.
Begin to braid the small section of hair at the hairline. If youre new to braiding cornrows, OConnor recommends starting with a basic style. "Straight back is the simplest form of cornrows to start with," she says. "After youve mastered it, you can then graduate to patterns, and then on to adding additional hair for extreme lengths."
Add Hair as You Braid

Photo © 2009 D. Sandeen, licensed to About.com, Inc.
As you continue to braid the hair, add hair from the section youre braiding into the cornrow. This is where a braid turns into a cornrow, and this is what attaches the braid to the scalp. Each time you pick up one of the three pieces of hair to braid, gently pull hair from the parted off section and add it in as you braid. Add an even amount of hair each time for a uniform look.
Continue Braiding and Adding Hair to the Cornrow

Photo © 2009 D. Sandeen, licensed to About.com, Inc.
Continue to braid the section of hair, adding more hair into the cornrow as you work your way toward the end. "Gradually pick up hair, adding it to the three sections from each side for there to be balance until you complete the style," says Damtew.
Damtew notes that depending on the braider and the style, braiding cornrows can take anywhere from 15 minutes on an easy style to up to four hours on a more intricate style. "Try not to get frustrated. Practice makes perfect and the more you do it, the easier it becomes," she says.
Detangle Sections of Hair

Photo © 2009 D. Sandeen, licensed to About.com, Inc.
If youre creating cornrows on straightened or relaxed hair, you might not need to detangle as you braid. But natural hair, as pictured, needs to be detangled as you work your way down sections. Simply and gently pull your fingers through the hair to work your way through so that the braids will continue to be neat and uniform. Damtew recommends the Felicia Leatherwood Detangler Brush ($22) for getting rid of knots without breakage.
To really prevent breakage, it may be helpful to have a spray bottle nearby filled with water, a water and leave-in conditioner mixture, or a water and natural oil mixture to help with detangling.
Continue Braiding

Photo © 2009 D. Sandeen, licensed to About.com, Inc.
Once youve braided the hair to the scalp, continue braiding if the hair is long. As these braids will not be attached to the head, you can braid them as you would regular braids.
Secure the Ends

Photo © 2009 D. Sandeen, licensed to About.com, Inc.
To prevent cornrow ends from unraveling, you can curl them around your finger. (This will work better on natural hair.) For hair thats straight and whose ends wont stay together on their own, use snap-free rubber bands or barrettes like these Small Mini Elastics Rubber Hair Bands ($7).
Repeat Around the Head

Photo © 2009 D. Sandeen, licensed to About.com, Inc.
Repeat the braiding process all the way around the head, making sure to part sections the same size for balance.
Completed Cornrows

Photo © 2009 D. Sandeen, licensed to About.com, Inc.
This is a simple and basic cornrow style. The parts are straight and the size is uniform. Its an ideal protective style, as it can stay neat for roughly two weeks as long as silk or satin caps or scarves are placed over the hair at nighttime. And, if youre looking to give your hair a break from chemical treatments or heat styling, cornrow braids are a great option.
FAQ
How long do you keep cornrows in?
Depending on the size of your cornrows and how you care for them, they could last anywhere between two weeks and two months. Smaller braids will last longer than larger braids.
Taking care of your braids by sleeping in a silk or satin bonnet will help braids of any size last longer. Youll also want to keep your scalp and hair healthy. "If your hair is in a protective style for up to 4-6 weeks, you will need to keep your scalp clean and hydrated," Black hair expert Sarah Sango told us. "After two or more applications of oils are applied to the scalp this creates build-up and a barrier, anything else being applied on top will not get into the pores. Use diluted witch hazel on a cotton pad and wipe the scalp on the partings to remove build-up so that moisture will be absorbed and natural oils from the scalp can be provided. Use a leave-in milk to keep braids/twists hydrated."
Should I straighten my hair before I braid it?
While there is no right or wrong answer to this question, blow-drying your natural textured hair before braiding it will provide you with more length. If you do decide to blow-dry your hair, be sure to use a leave-in conditioner. To avoid excessive heat damage, its best not to flat iron your hair before braiding it.
Do braids help your hair grow?
"Protective styling is the best type of styling when on a hair growth plan," says Mahisha Dellinger, CEO and founder of CURLS; this includes everything from buns to, of course, cornrows. "No matter what style you choose, make sure the tension is minimal, your scalp can breathe, and that you do not leave your hair styled beyond the expiration


