![]()

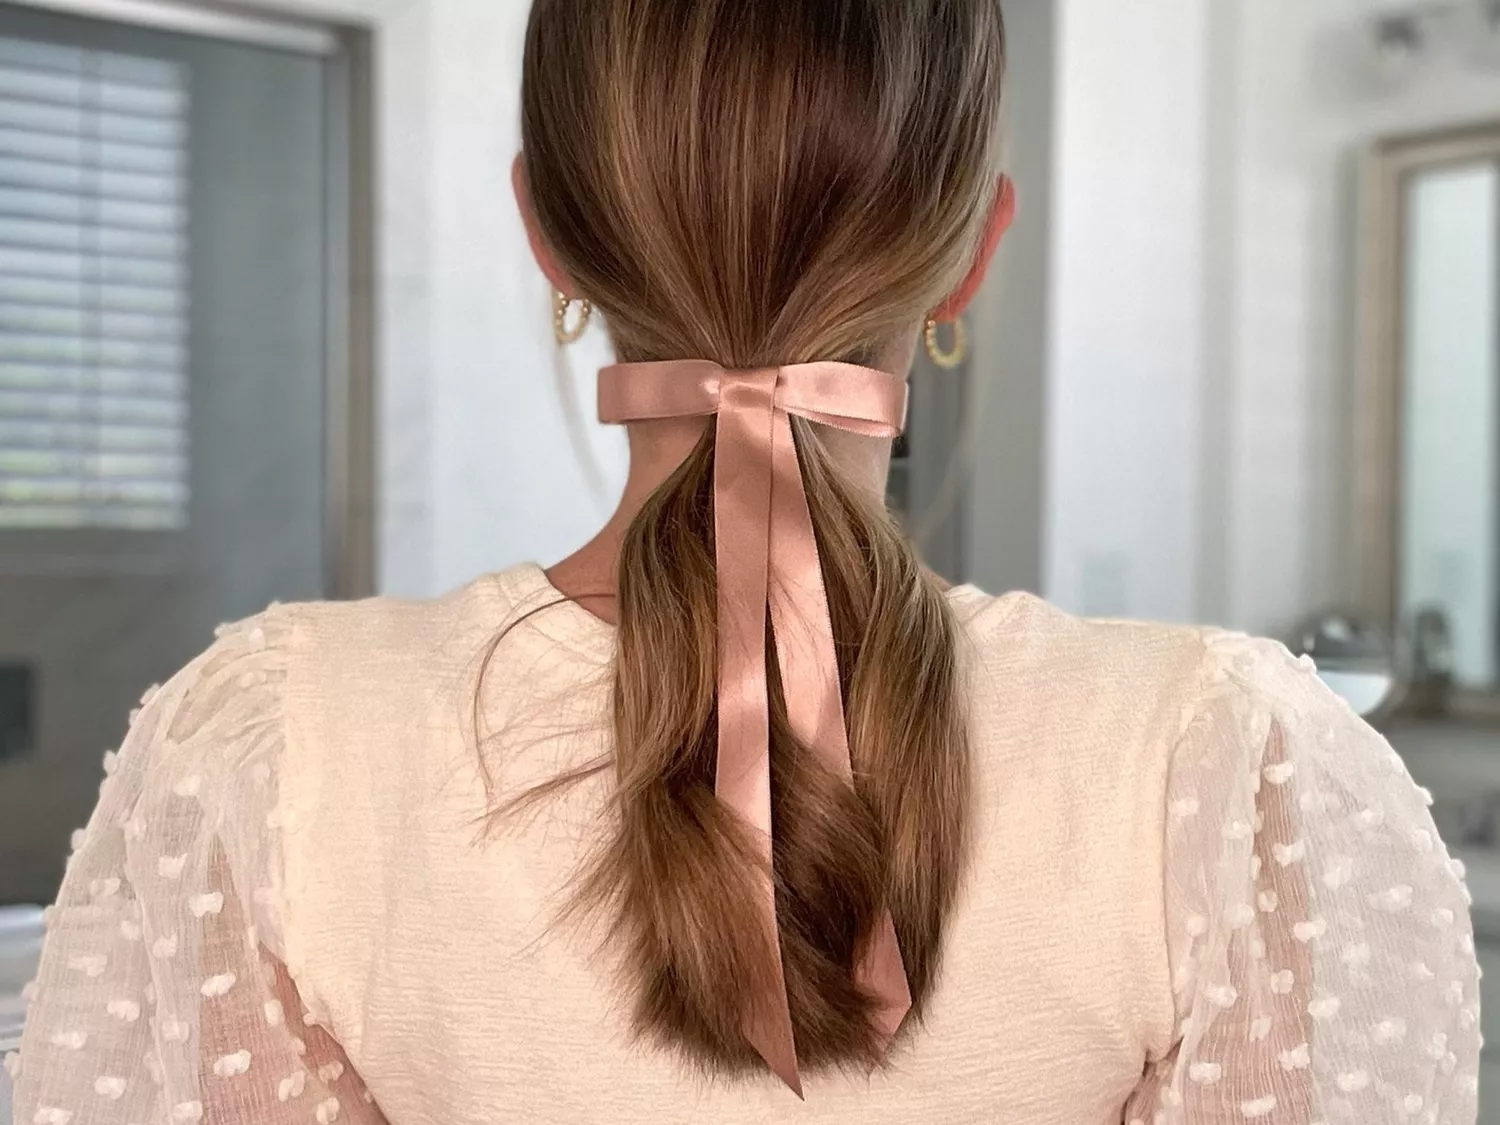
@chrisappleton / Instagram
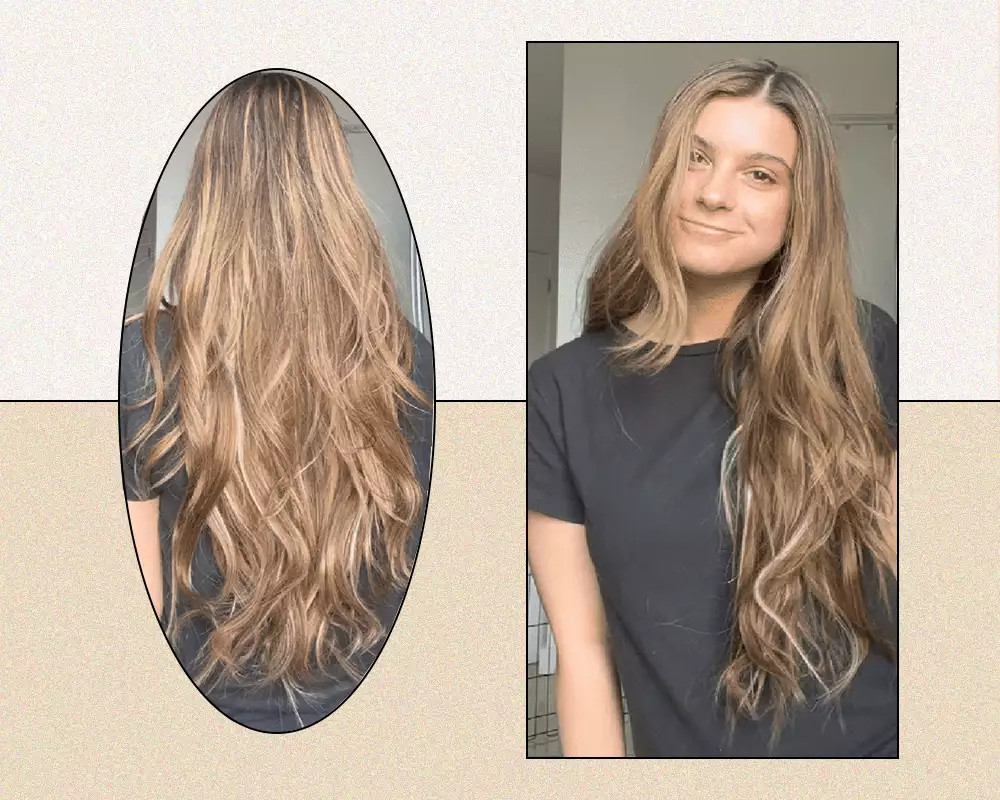
We love a loose, beachy wave. The effortless style is a classic, and we love that it can be dressed up or down depending on the occasion. However, while these hair waves may look effortless, theyre only that in theory. In reality, creating these Cali-inspired loose waves involves a step-by-step process—especially if you want to keep your hair healthy and the style intact all day.
For starters, you have to consider length. Creating loose waves on long hair may require a different type of hot tool than if you were to have a shoulder-length lob. Then, you need to consider your hair texture, as thinner hair may require more hairspray to lock the style than thicker hair. Finally, theres the question of style. Not all loose waves are created equal—thats why theres such a great variety of curling wands/irons. So, there are more than a handful of things to consider.
Once you get the swing of it though, learning how to get loose waves is quite simple. Its just about nailing the method. So, to learn how to create this style, we tapped two hair experts who shared the foolproof way to create perfectly imperfect loose waves. Their tips, below.
Step One: Coat the Hair With Heat Protectant
Preventing damage is the best way to avoid the need to repair something later. So, in the same way you wouldnt go out in the sun without slathering your skin with SPF, you should always protect your hair from the effects of hot tools. "It’s always important to add thermal protection to the hair," confirms Santana. "As a stylist its non-negotiable. Bio Ionic’s High Speed Blow-Dry Primer ($28) can protect your hair up to 440 degrees. Plus, it accelerates drying time so you use less heat."
Step Two: Prep the Hair With Hairspray
You might traditionally think of hairspray as a final step, but the key to getting waves that last all day is actually start the look with hairspray. (Think of it like a gripping primer youd use before foundation application.) "The first thing that I always do when I get brushed-out waves is spray the hair with hairspray to prep it," says Marjan. "So my hair is already dry, and Im going to use the Tresemmé Micro Mist Hairspray in Extend($7), and just spray it throughout my whole head." No need to overdo it here, just mist lightly and evenly from root to tip (starting as close to the roots as you plan to curl).
Step Two: Brush Through Hair With a Smoothing Brush
"Once Ive sprayed my hair with hairspray, Im just going to brush it through with a smoothing brush," says Marjan. "Im using the WetBrush Smooth and Shine Brush ($18)." Brushing through the hair helps to more evenly distribute the hairspray you applied in step one, and ensures that your hair is free of tangles and knots for optimal curling.
Step Three: Pick the Right Tool For Your Hair Length, Texture, and Desired Style
As mentioned above, different hot tools will create different types of styles and are better for certain hair types. For example, a 3/4" barrel will create much tighter waves than a 2" barrel will. Then, you need to consider your hair type and factor such as whether or not you have color-treated hair as that could determine the heat setting you pick.
"Temperature control setting should be adjusted depending on the hair type and be sure to consider if the hair is color-treated. If The hair is color-treated it is not recommended to go over 350° because the hair color will get compromised. On hair that is non-colored you can go up to 400°," says Santana.
Furthermore, the hair expert says that his go-to for creating loose waves is Bio Ionics Long Barrel Curling Iron ($149), which is two inches longer than the standard curling iron, making it ideal for people with long hair. "[It] will give a beautiful voluminous hold that will last all day long," he adds.
Step Four: Curl Small Sections Away From Your Face
Marjan recommends curling small sections away from your face. Smaller sections allow for more curl definition, as well as more even distribution of heat. Start by sectioning your hair into two or three sections (depending on how dense your hair is), working from the bottom section to the top section. Twist your hair, then wrap the twisted hair around the iron (this helps create more of the textured, beachy look). The key here is to keep your hair moving to avoid clamp marks from the iron.
Step Five: Hairspray Your Waves While They Cool
As tempting as it is, dont touch or tug on your curls when they come off the iron, even if they look a little tight. Letting your curls cool completely is an important step to getting waves that last all day, so be patient and let them get to room temperature. While youre waiting for your curls to cool, you can mist your hair with hairspray to lock in the shape, especially if you have straight hair that doesnt tend to hold a curl.
Step Six: Brush Your Waves Out
Once your hair has completely cooled and youve applied a light, even layer of hairspray, go ahead and brush through your curls to create the loose waves effect. This will help separate your waves and create more of a fluid appearance, joining the separate sections you curled into a more cohesive style.
Step Seven: Finish With Shine Spray
After youve brushed through your curls, its normal for hair to get a bit "fluffier" or to see some frizz. Thats why Marjan recommends finishing the look with a touch of shine spray to tame frizz, smooth out your ends, and create an overall more sleek appearance. For mega-watt shine and frizz control, try Oribes Imperméable Anti-Humidity Spray ($42).
The 10 Best Curling Wands of 2023, Tested and Reviewed
Related Posts

TikToks Viral Butterfly Cut Is This Generations "The Rachel"
How to Apply Clip-In Hair Extensions, According to a Stylist

11 of the Best Hairstyles For Starting Locs
28 Short Hair Ponytail Hairstyles to Try
How to Curl Your Hair for Long-Lasting Curls, According to Stylists