![]()

Instagram / @colorstreet
If the thought of waiting for nail polish to dry prevents you from doing at-home manicures, let us introduce you to one of the easiest solutions weve seen yet: nail wraps. Thats right, weve found a solution that looks like a real-deal manicure and can be easily executed whether you are short on time, need something travel-friendly, cant seem to master painting your nails, or all of the above. In short, nail wraps are an excellent solution to your current manicure woes.
Ahead, weve got a quick, efficient tutorial on how to apply nail wraps with some expert advice from nail artist Elina Ogawa to go along with it. Keep scrolling for the most user-friendly manicure youve seen yet.
How to Apply Nail Wraps
Gather Your Supplies

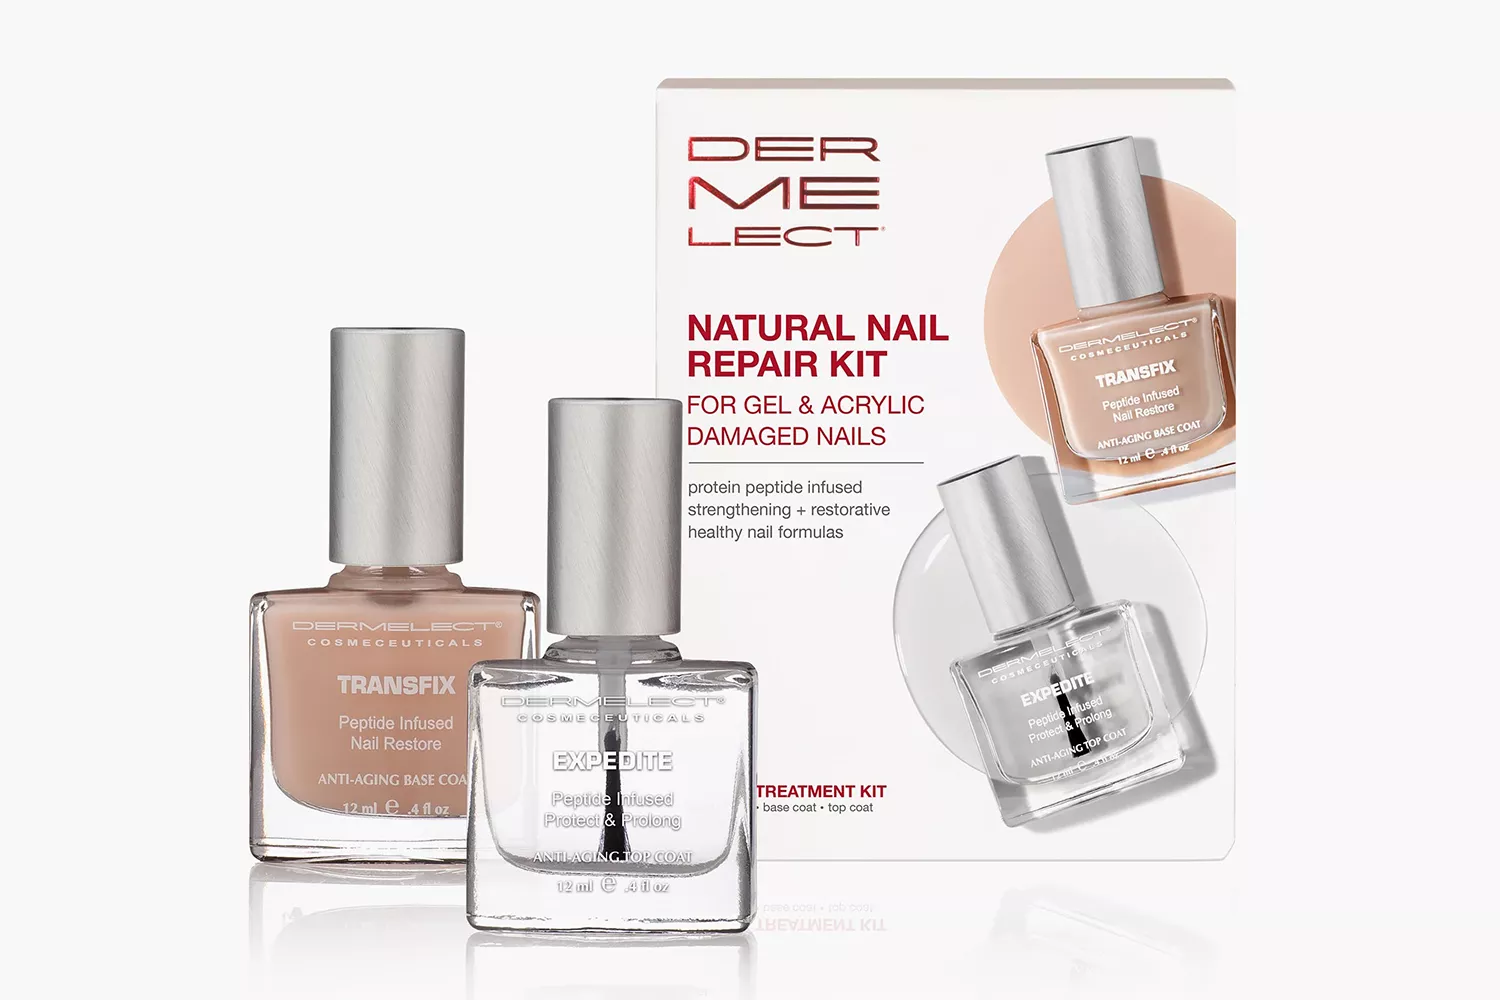
Im using the Color Street Nail Wrap Kit ($12). It conveniently comes with 16 strips that can be used on both fingers and toes, a nail file, and a prep pad.
Prep Your Nails
The first and most important step is to start with clean fingernails that have been properly prepped. It doesnt need to be an arduous process, but there are a few things Ogawa suggests doing before applying nail wraps. "Its important to prep your natural nails first by cleaning up the cuticles, filing, shaping, and buffing," Ogawa says. She also recommends regularly using a quality cuticle oil, such as CNDs Solar Oil Nail Cuticle Conditioner ($14), to keep your cuticles hydrated.
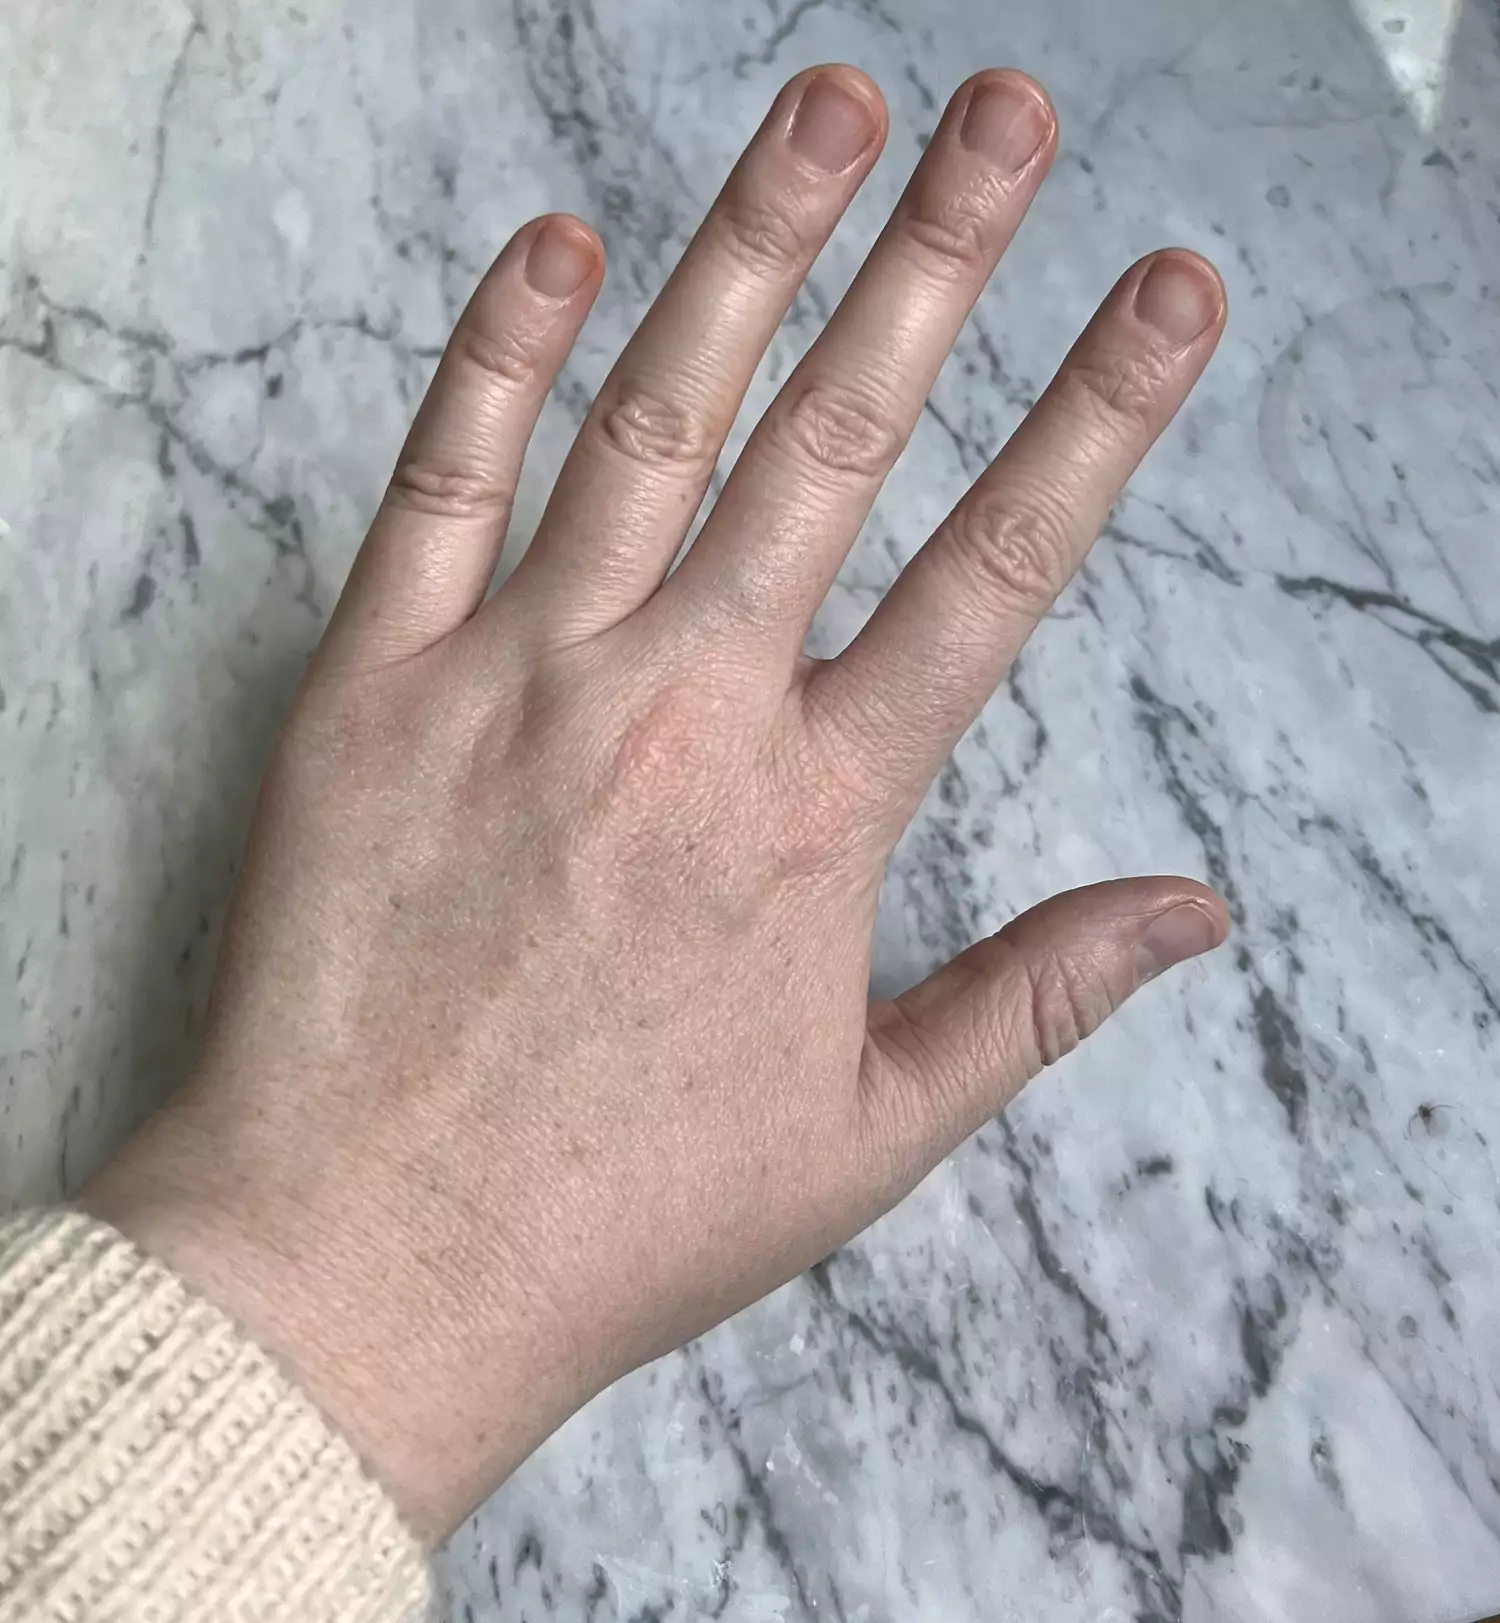
I trimmed and pushed back my cuticles, filed my nails to get as good of a shape as possible, applied some cuticle oil, and followed up with a good buff.
Find Your Shape and Start Applying

Wipe the prep pad over each nail to remove any dirt and oil before getting started. Next, youll hold the strips up to each nail, determining which size will best fit that individual nail. A good rule of thumb is to ensure the strip does not extend beyond the cuticle.
To apply, youll lightly tear at the perforation, remove the plastic, and apply the strip onto the nail, pressing it down to prevent any bubbles or creasing.
The strip is long enough to cover short, medium, and long-length nails, and for my shorter nails, I quickly learned that stretching the strip ever so slightly to cover the entire nail, bending it downward, and then cutting the excess off was the best way to apply. Youll want to start right below the cuticle, aiming for the base of the nail as best as you can. Trim off the excess strip around the edge of the nail with small scissors and follow up by filing for a clean shape. Youll repeat this process on each finger until each nail is covered.
To finish your manicure, apply a top coat to seal it all in and add shine. Ogawa recommends Seches Dry Fast Top Coat ($11), a favorite among professionals and celebrity manicurists.
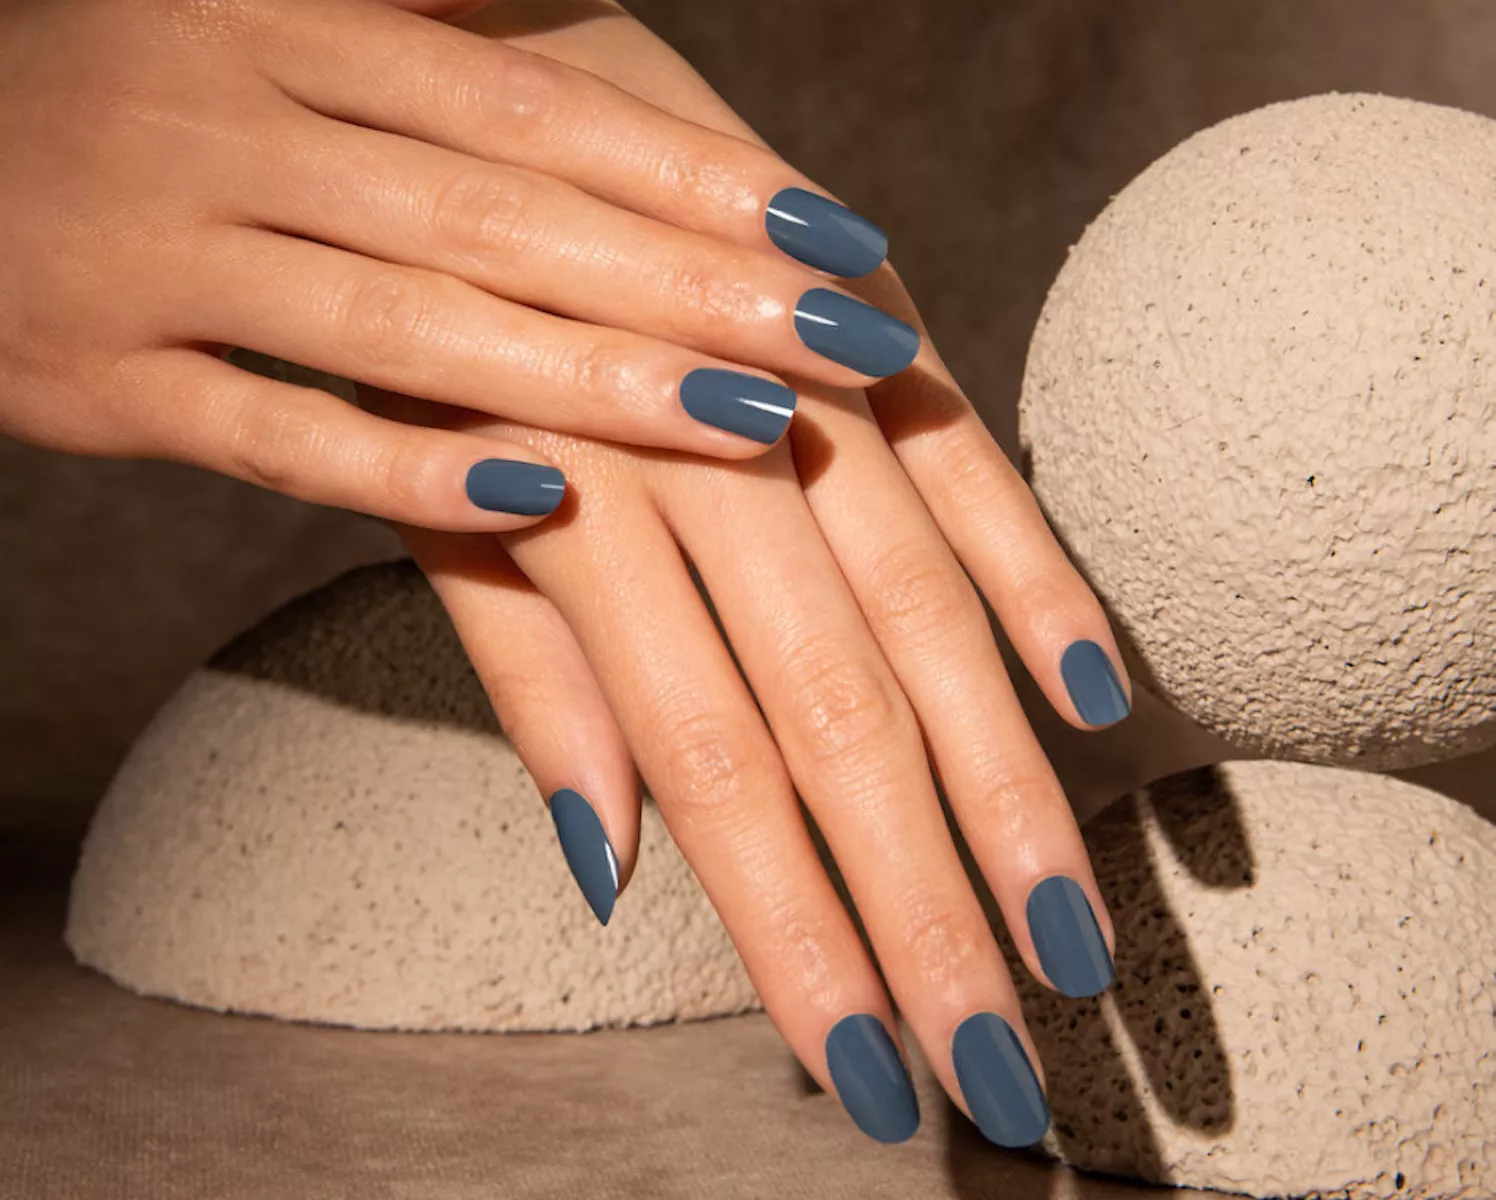
The End Result: Impressive

I have to say, as short as my nails happen to be at the moment, I was impressed with the ease of use and the overall results of nail wraps. Like all things new, practice makes perfect, and I noticed a few things I could improve upon for my next application. Next go round Ill be gentler around the edges of the nails after applying the wraps and not file too forcefully, as this can cause the strip to chip if youre not careful. Ill also keep the strip as close to the cuticle without touching the skin as possible. This will look the neatest and mimic a professional manicure.
Nail wraps are composed of nail polish, so youll want to be mindful of things that could reduce your wear time, like washing the dishes without gloves. "Nail wraps will last if you take care of your nails and avoid things that cause them to chip," says Ogawa.
If youre looking for wraps with a little more staying power, "some wraps are made of gel, which lasts the longest," Ogawa tells us.
How to Remove Nail Wraps
Removing nail wraps is as easy as applying them and can be done using a 100 percent acetone remover, just like traditional nail polishes. Apply some remover to a cotton pad and soak the nail, slightly rubbing to remove all traces of the wrap. If you must repeat this process to remove it all, thats completely fine. "Take your time removing the wraps to ensure you have a clean nail in the end, and most importantly, do not try to peel the wrap off your nail as this can cause damage," Ogawa says.
Once youve removed your nail wraps, you can opt to apply a new color or let them go au naturel for a few days; Its fine to apply more product after removal should you want to.
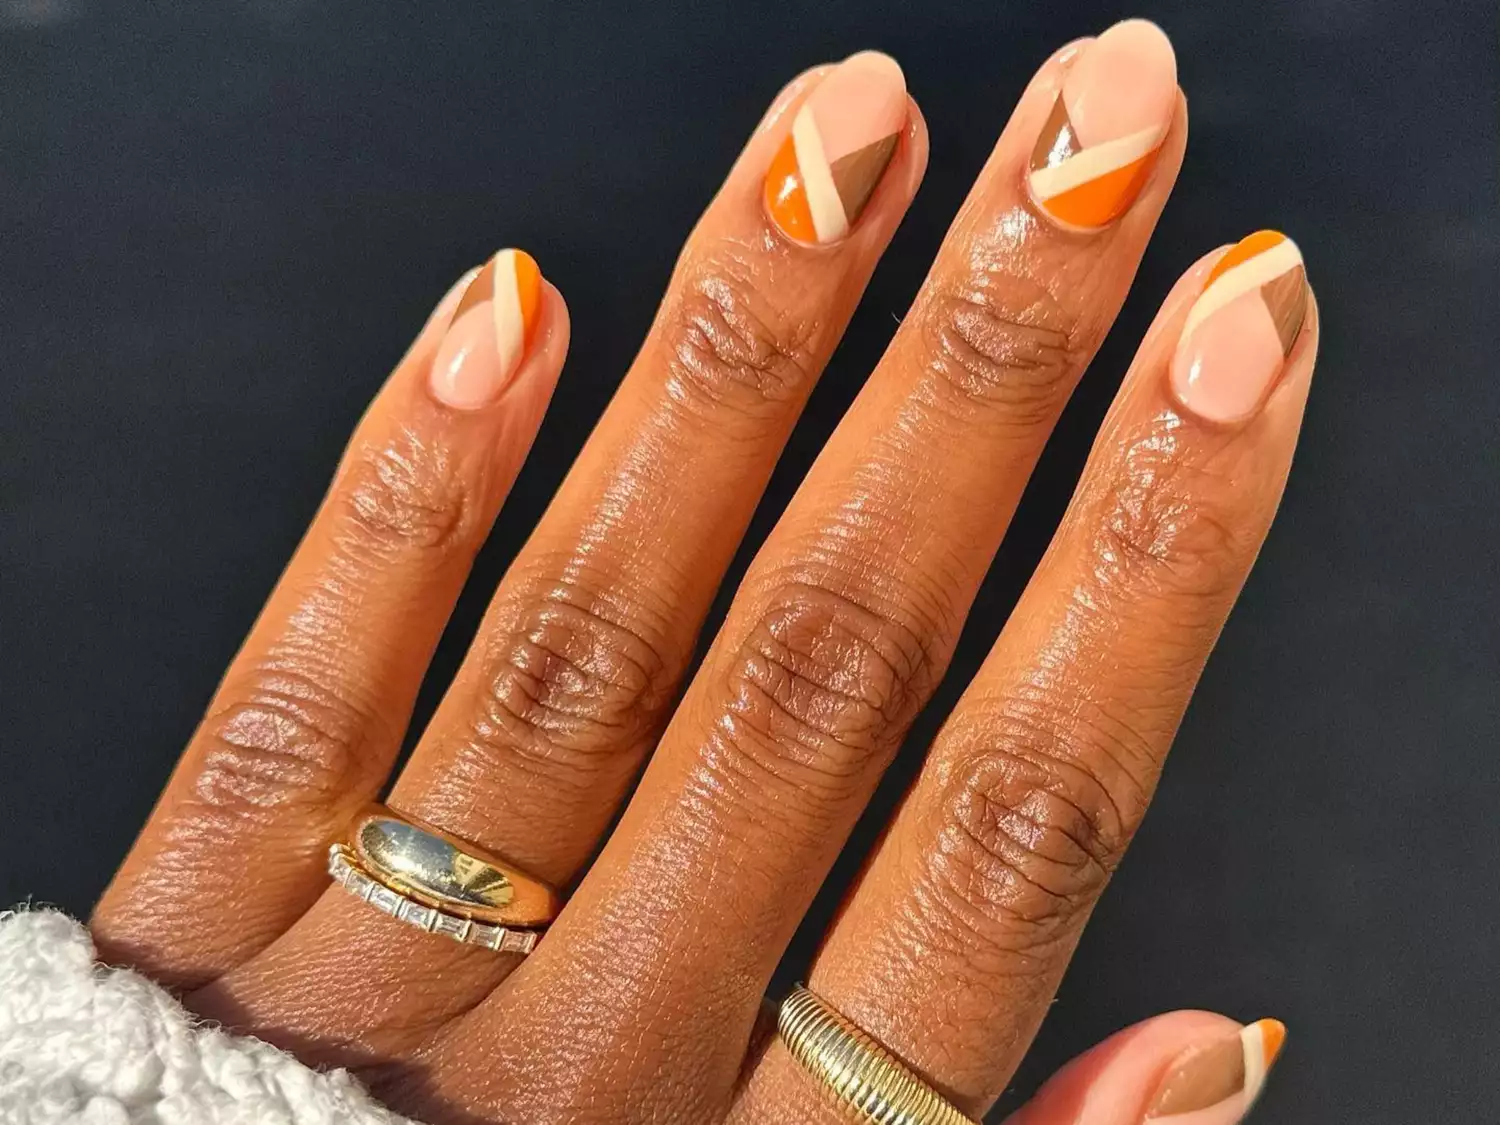
11 Nail Stickers That Will Make You Look Like a Pro
Related Posts

"Seashell Nails" Bring Mermaidcore to Your Mani
20 Thanksgiving Nail Design Ideas Festive For Fall and Beyond

How to Get Jello Nails
What's the Difference Between Dip Powder and Gel Nails? Manicurists Explain
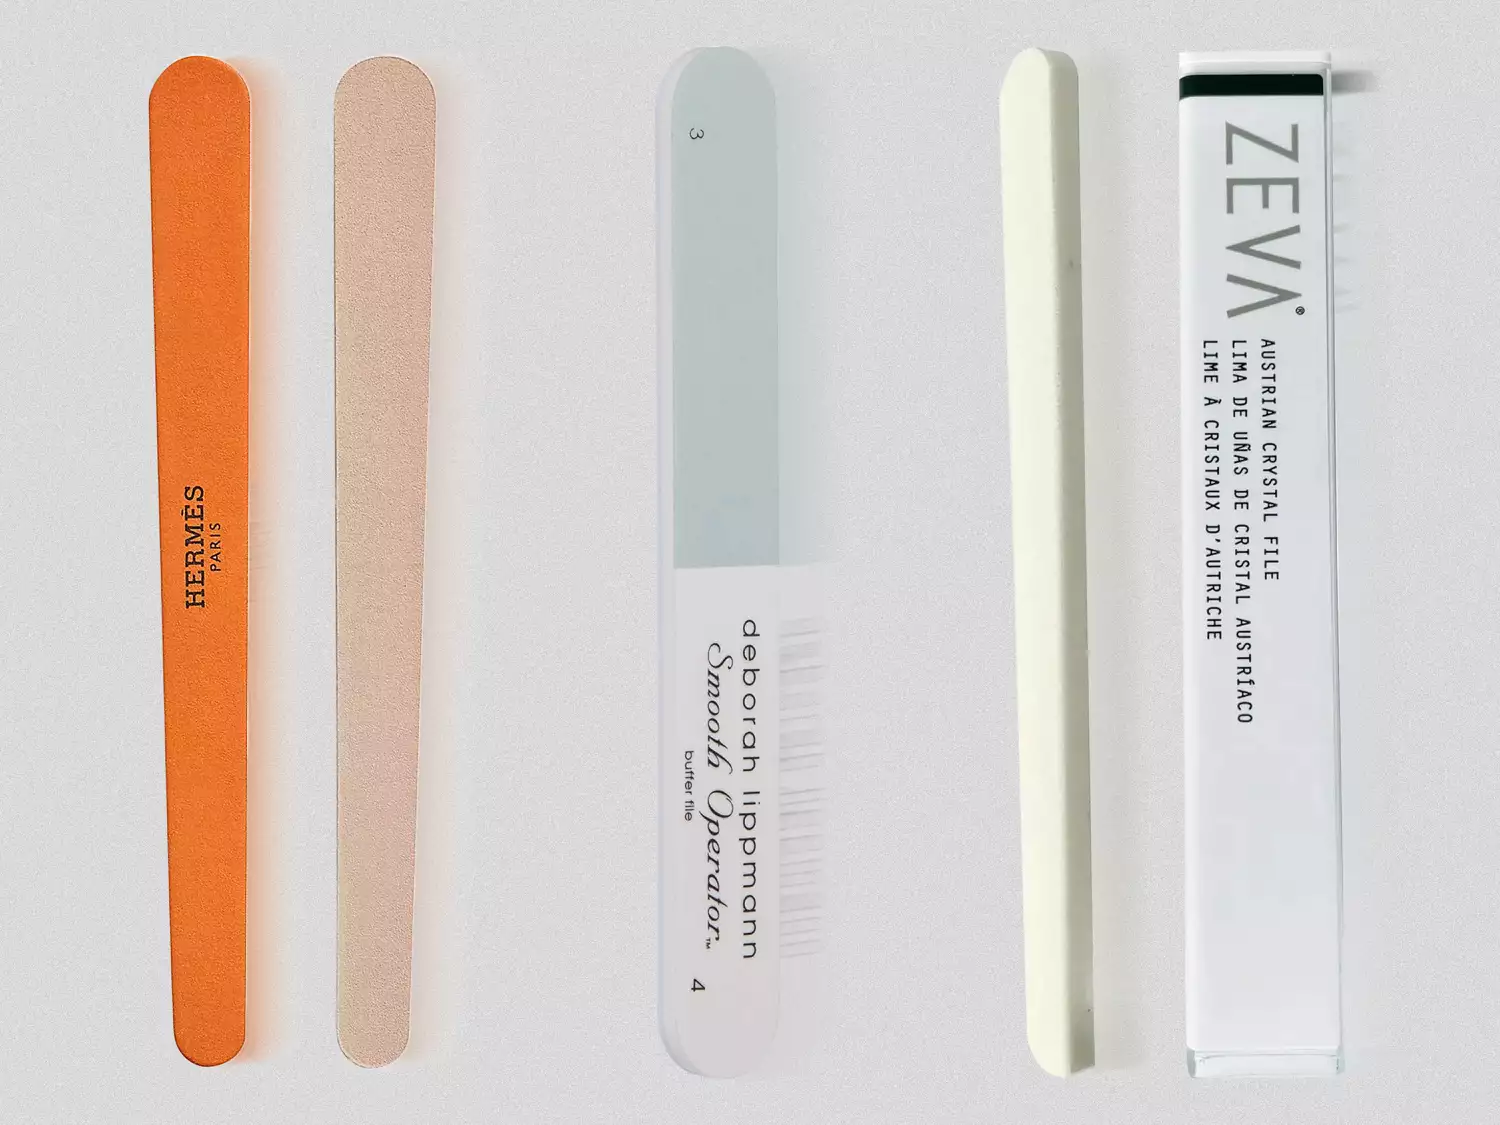
The 13 Best Nail Files for Salon-Quality Manicures at Home